

Edit Header and Footer Navigation
The storefront’s header menu and footer links are two documents in the CMS. You edit each as a list of items, save a draft while you work, and publish when the list is right.
Before You Start
Section titled “Before You Start”- You are signed in with the Editor role or a higher one (Manager, Administrator).
- The Pages panel is enabled.
- The header and footer documents exist. The demo data has Main Navigation and Footer.
-
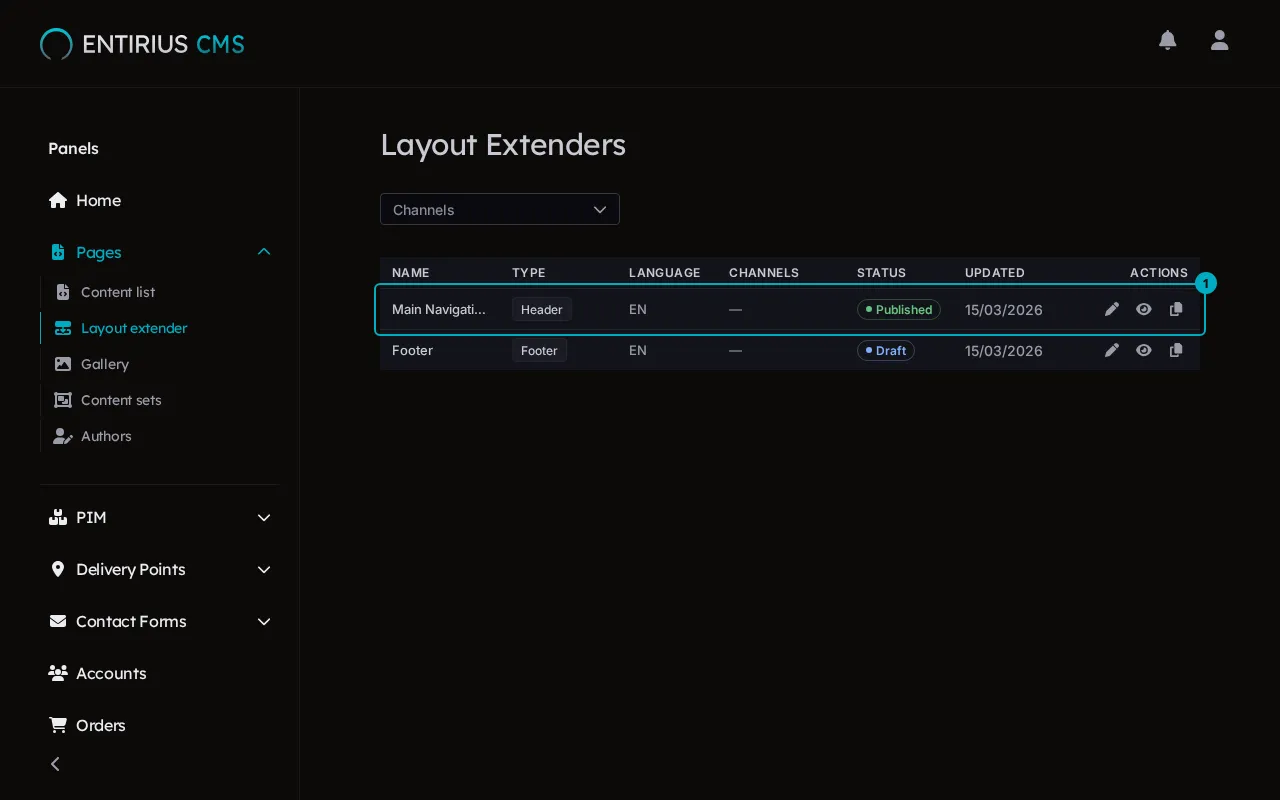
In the sidebar, open Pages and select Layout extender. The Layout Extenders list shows each document with its type and status. The header document (1) is the first row.
-
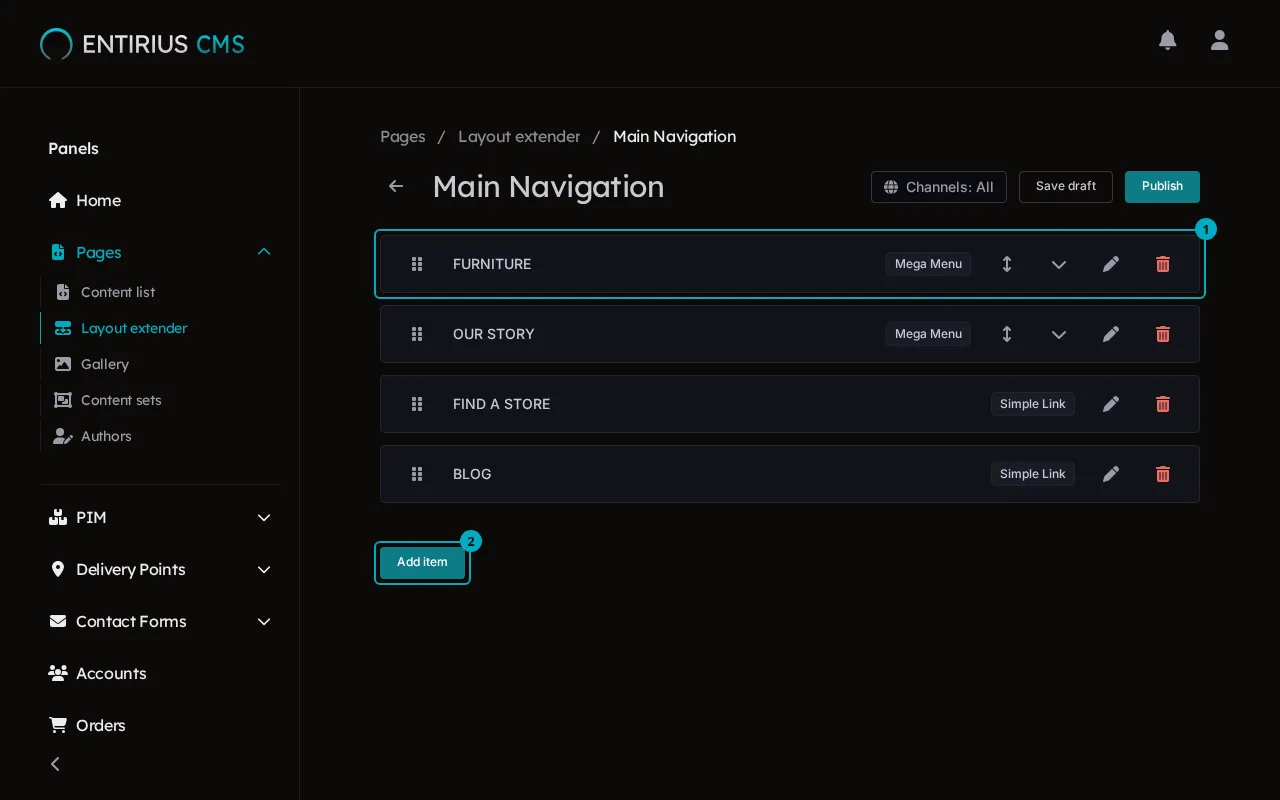
Open the header document. Its items read top to bottom in the order the menu shows them, and each item (1) is a Simple Link or a Mega Menu. Drag the handle on the left of an item to move it. Add item (2) sits under the list.
-
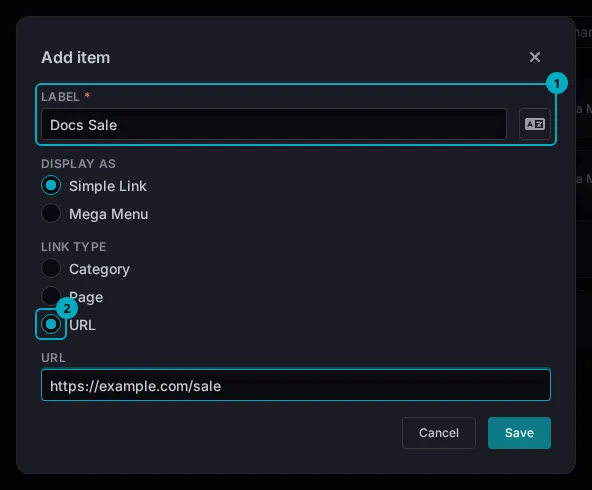
Select Add item. In the dialog, type the Label (1) and choose Simple Link or Mega Menu under Display as. A Simple Link also takes a Link type: Category, Page or URL (2). Save adds the item to the list.
-
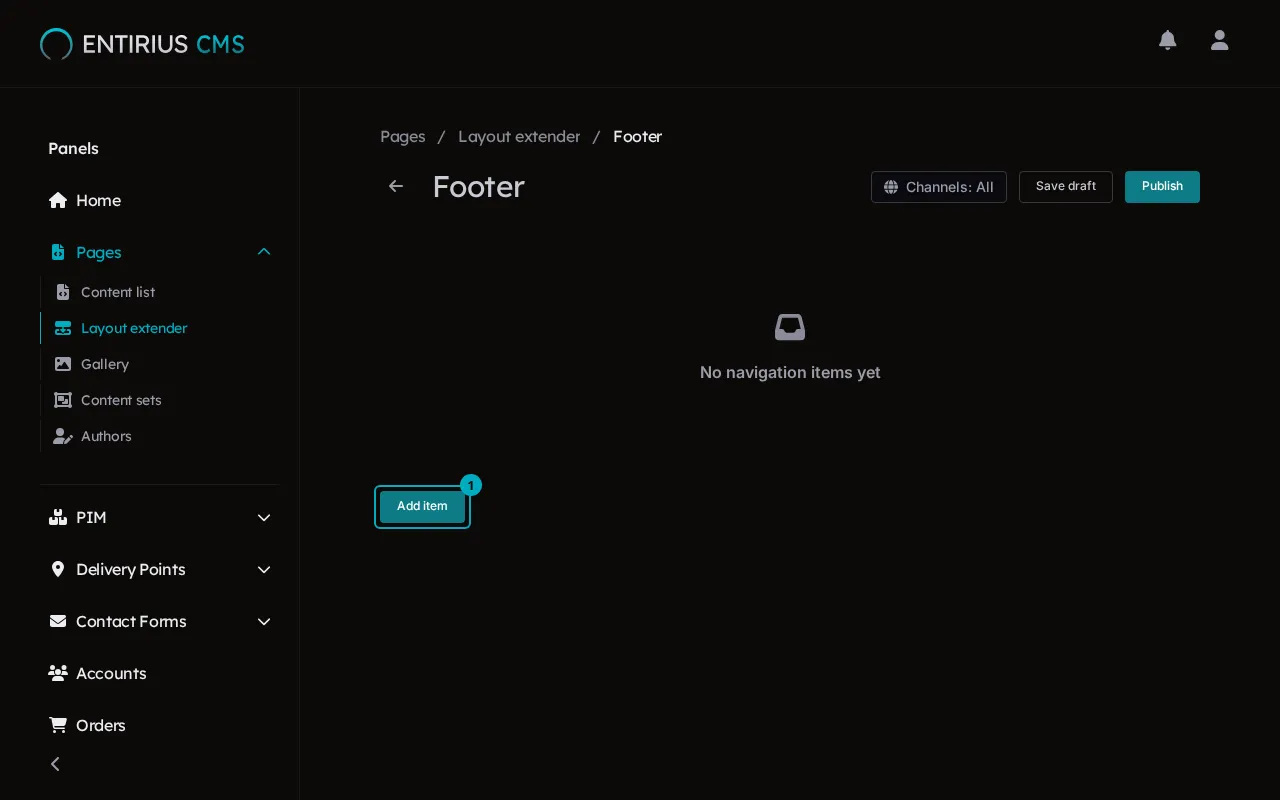
Go back to the list and open the footer document. An empty footer reads No navigation items yet; Add item (1) works the same way here.
-
An Unsaved badge shows next to the buttons until you save. Save draft (1) keeps your changes without touching the storefront; Publish (2) puts them live.

Result
Section titled “Result”The published document replaces the previous header or footer navigation. A draft changes nothing public.